
Hydrogen water rocket out of household items
9:24 AM
•
combustion,
electrolysis,
Grams,
hydrogen,
rocket
•
0
comments
![]()
Perhaps my favorite project I've ever worked on is my hydrogen rocket. The craze started when I stumbled upon an article by Dean Wheeler about launching bottle rockets that used hydrogen combustion rather than a bicycle pump for power. I had already finished a reliable hydrogen generator, so I figured this was a good project to put it to use. I didn't have access to some tools and materials that he did, but I found some other solutions that made it work. I'll document my findings here because I believe these types of bottle rockets do not receive the attention they deserve. As far as I know, Dean Wheeler's article and mine are the only two guides about these rockets available.
NOTE: The oxyhydrogen gas described in this howto is often incorrectly called HHO and even Brown's gas. Nevertheless, the term HHO is widely used and it's a good abbreviation. Oxyhydrogen gas is essentially the 2 to 1 mixture of H2 and O2 created by the electrolysis of water. Unlike the ignition of hydrocarbons that also produce CO2, ignition of this gas produces only water and energy, nothing else. It is the purest form of combustion.

The rocket is separated into three logical sections:


The launcher was the hardest part of the project to build. Dean Wheeler's design was much more elegant in my opinion, but there were some elements that I did not know how to build or did not have the tools to. Here are the parts you need to build the launcher (excluding basic tools like a saw and drill):

Two wires go from two different arms of the base and meet at the end of the vertical launch tube. They are sealed in with a fat blob of hot glue. These wires can provide a source of ignition in two ways. The easiest way for me is to just get a tiny steel strand from an SOS cleaning pad to act as a fuse that burns out:


Another source of ignition is using a gas grill sparking igniter that can be found at a hardware store. I found that these don't work well with long and thin wires because the spark jumped within the wire instead of at the end where I wanted it. If you want to use this method, which in theory is easier and more reliable, pick up some heavily-insulated wire.
You might be wondering about the purpose of my ring terminals. They are just an airtight way to connect the external wire to the wires on the inside. I drilled a hole through two PVC end caps for both of the connections. To make a connection, I got a bolt and first threaded the external ring terminal (wire already crimped, obviously). Next I added the actual PVC end cap, and finally the internal ring terminal. A nut holds everything tightly together and keeps it airtight. Add some rubber as an extra layer in between for an even better seal.


I'll admit the inside is not a pretty sight after 2 years. This brings me to another point: use stainless steel whenever possible.


The best method would be to hook the tube directly to that tiny hole. This would avoid having all that dead space between the tube end and the hole, but I couldn't think of a good way to do it.


If your rocket blows up, don't be discouraged. It happened to me on my first launch attempt (pictured above). There are two main problems that can cause an explosion rather than a launch. First of all, make sure the oxyhydrogen is diluted with air. If you do not dilute the mixture, your plastic rocket will explode for sure. Secondly, you could be using a bottle not built to withstand pressure. Flimsy water bottles like the one above will fail very easily. My first launch attempt had both of the problems described above.
NOTE: The oxyhydrogen gas described in this howto is often incorrectly called HHO and even Brown's gas. Nevertheless, the term HHO is widely used and it's a good abbreviation. Oxyhydrogen gas is essentially the 2 to 1 mixture of H2 and O2 created by the electrolysis of water. Unlike the ignition of hydrocarbons that also produce CO2, ignition of this gas produces only water and energy, nothing else. It is the purest form of combustion.
The rocket

- The fins, which screw onto the bottom
- The combustion chamber, made out of a regular soda bottle
- The nose cone, which can carry a payload and absorb impact
The fins
On many bottle rockets the fins are glued directly to the pressure chamber. This is mostly because bottle rocket launchers need access to the bottle's flange to hold it until launch. When I tried this method, I found that the hot glue I used weakened the combustion chamber because it slightly melted it. This never caused any catastrophic failures for me, but I still think it's not a very elegant solution. Anyways, this method is not necessary for hydrogen rockets since there is no pressure until it goes boom, so therefore the rocket does not need to be held in place. I decided to go with a modular fin design instead so I could easily change out fins, and switch them from rocket to rocket. The main body of the fin is made out of a film canister. I hollowed out the bottom with a Dremel so it was more of a pipe than a container. Similarly, I also hollowed out the screw cap so it looks like a ring but still has the threading. This screw cap ring fits nicely in the hollowed film canister, and I glued it in place with hot glue. Next you need to add the fins to the fin body. I bought some spare tupperware containers that I could use to cut out some nice and flat plastic fin shapes. I glued three fins onto the fin body at a slight angle. This angle is critical for gyroscopic stability because it spins the rocket during flight. It truly means the difference between a 50 meter and a 5 meter flight. Here are some pictures of the fins and how they attach to the rocket:


The combustion chamber
The combustion chamber needs to be able to withstand significant pressure, but only for the short period of time after ignition and expulsion of the water. My combustion chamber is simply a Mountain Dew bottle. Thats all. Other soda bottles will work, but never use water bottles because they often have thin plastic and a flimsy design since they are not built for carbonation. You can decorate your rocket however you want, but there are a few marks that you should add after some experimentation: the recommended oxyhydrogen and air mixtures. You will find out what these marks are for later in the launch process section. Go ahead and mark the "HHO" line 5cm down and the "air" line 10cm down.
The nose cone
The nose cone has several different functions. For starters, it makes the rocket more aerodynamic because otherwise it would be the butt end of the combustion chamber being forced through the air. Secondly, the nose cone adds a place to store a payload. Finally, the nose serves as a crunch zone to absorb the impact of 'landing' without damaging or weakening the combustion chamber. I use the term 'landing' loosely because the landing process is essentially a free fall then a crash. In theory the nose cone could be used to house a parachute system and avoid the 'landing' problem, but I have not attempted this. My nose cone is made out of the top part of another Mountain Dew bottle. I secure it to the combustion chamber bottle with electrical tape. You can store whatever payload you want by unscrewing the top and putting something in there. I found that the rocket can get better altitude if it has some weight (maybe about 50 grams) in the nose cone. If the rocket has no extra weight, the air drag will slow it down quickly.The launcher

- 1/2 inch PVC pipe
- A small section of pipe that fits around the 1/2 inch PVC
- 4 PVC end caps
- 3 PVC T-joints
- Wire
- 4 ring terminals (2 for the exterior 2 for the interior)
- Tubing to carry the gas (I used aquarium tubing)
Igniter
The wiring in the launcher is for the igniter at the top:


Tubing
The tubing is nothing crazy. The tube just goes right into the launcher and the gasses are pushed all the way up to a tiny hole drilled on the side of the vertical launch tube:

Ring stop
Pretty self explanatory. Just cut a pipe whose inner diameter is just greater than the launch tube's outer diameter, and put a screw in it. This holds the rocket at the right height until blast off.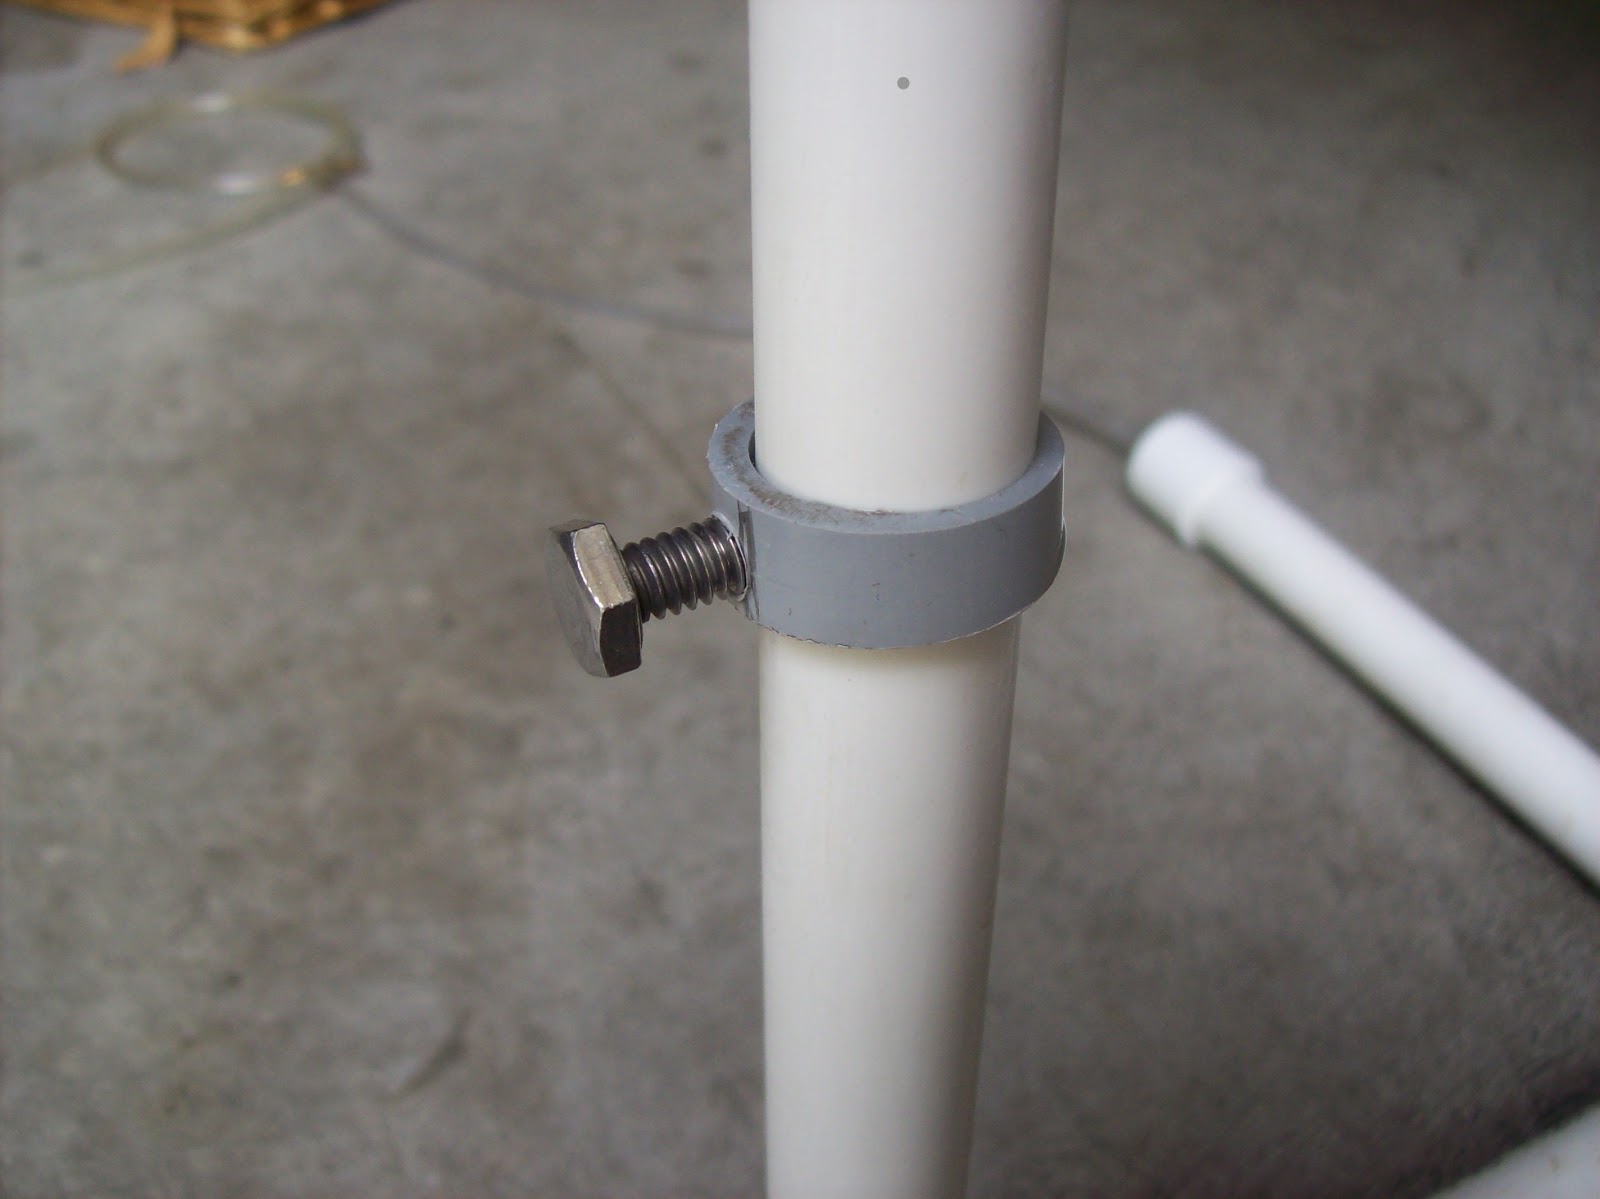
The launch process
- Turn on the electrolysis unit and hook it up to the launcher, without the rocket on it. This helps clear out the air inside the launcher pipes so that when we do put on the rocket, it will be pure oxyhydrogen and not the residual air.

- Wrap a fuse to the ignition wires


- Fill the rocket with water

- Put the rocket on the launcher, with the hydrogen still flowing. Obviously, you can't just flip the rocket rightside up and put it on or the water would spill out the bottom. Instead, keep the rocket upside down and flip over the entire launcher and put the launch tube in the rocket's nozzle. Just be careful not to mess up the ignition fuse set up earlier. Now it's safe to flip everything over.

- The displaced water will trickle out of the bottom at this time. Let the oxyhydrogen bubble in through the small hole until the water level reaches the "HHO" line. Then disconnect the oxyhydrogen tube.


- Now hook up the tube to an air pump and add air until the water level reaches the "air" line. Then disconnect the tube.

- Take the launcher to the launch location while unreeling the wire. Don't waste time during this part because the water sometimes slowly leaks out. Run back to the end of the wire and hook it up to a power source. This will blow out the fuse and ignite the hydrogen. BLASSST OFFF!!!!!11 The flight time is usually around 7 seconds and the apogee is roughly 200ft for my model. The easiest way to calculate maximum altitude is to just time the flight and use the classic freefall equations.


Simulation
To calculate the temperature and pressure after combustion, use this thermodynamic model. The most comprehensive simulator for water rockets I've found is here. Help files located here. It was made in the stone age of DOS but it works nonetheless (plus it gives me an excuse to use my Windows VM). Simulation is good because it can help you find the optimum water to gas ratio. It also gives you some fun stats: According to the model, my rocket has a max speed of 56m/s (125mph) and and a max acceleration of 2472.5m/s^2 (250Gs). Don't put your astronauts in this one!Later tinkering
Without a parachute, the rocket darts back to earth at a surprising (and somewhat intimidating) velocity. I found that if it fell through a tree or landed wrong, one of the fins could break off. So one innovation I made was to replace the rigid hot glue join for the fin with simply tape so it would be flexible and easily replaced. Using tape is definitely easier, but hot glue is probably still the optimal join.Future visions
- I think putting an altitude-triggered parachute system would be really cool in this case. I've thought about it but never really done anything with it.
- Mad props to anyone who can build such a rocket out of metal. This could handle a larger oxyhydrogen concentration for extra thrust. I think I saw an aluminum beer bottle that had potential. Those fancy Sigg drinking bottles too?
Danger danger!
- Without a parachute this thing is essentially a missile when it falls down, so keep an eye out!
- Do not shoot at living creatures or other humans, although there's nothing wrong with some good fun ;-)
- If there is a misfire, approach with caution and make sure the source of ignition is disconnected.
- Don't skimp on ignition cable. My first try I used only about 4 meters of wire and my rocket blew up. In case you are wondering, I survived.
Common problems
If you need a demonstration of things that can go wrong, see this video. The guy managed to cover just about all of them in one launch attempt. I don't have much room to talk since my first launch went no better than his did (see picture below). Just keep in mind that getting a working design can be difficult and will certainly need some tinkering to fix problems:Catastrophic malfunction (boom)

Help
I'm sure I haven't covered everything in this article so if you have any more questions just post them in the comments. I'll get around to answering them as soon as possible. Peace out and happy rocketeering!
It took me many many tries to design a reliable and cheap way to produce the hydrogen I needed. There are literally tons of videos of other people's designs on YouTube (just search for 'HHO generator', 'electrolysis', or 'hydrogen generator'), but some of the parts and processes were just out of reach for my budget. Some used custom-cut steel that was expensive to order. I finally found an interesting method that used off-the-shelf wall plates that were stainless steel. This video was the one that really gave me the idea. sirHOAX does a lot of great work with generators like these.
 Anyways, stainless steel is a must otherwise you will end up with a brown soup of nastiness (iron oxide) after just a few minutes. I picked up a few of these wall plates from Lowes. I used a blank wall plate, but I also found a double-sized wall plate that would also work if someone wants more output from their generator. As soon as I got these I used a reamer to enlarge one hole per wall plate (the hole where the screw normally fits through) to about 1.5-2cm in diameter. This is so that I can bolt the plates together. One bolt for each terminal. The reaming process was long and rubbed blisters on my hand, but I managed (it was nowhere near the work I put into hand-sawing my wind turbine blades later). I had three wall plates in all, and one terminal happened to get two wall plates while the other got one. It doesn't really matter that much.
After reaming out holes, make sure to sand the plates so there is maximum surface area for electrolysis to take place. Then assemble the plates like sirHOAX does in the video. As with all designs, you will probably have to improvise since not everyone has the same materials. Here is how my plates turned out:


As you can see the washer I used has become very corroded, and eventually it will need to be replaced. If possible, use stainless steel for every metal part of the generator. Also shown in the above pictures is the tupperware container I mounted them in. Use the containers that have locking seals. If you use a normal container that just presses on, you will have leaks and the whole top might even pop off. Here's a closeup of how I mounted the plates:

I cut off a square of rubber band and poked a hole through it. I then put this in between the lid plastic and the nut. This ensures a watertight seal even though there are two holes in the lid. I also drilled a hole in the top of the lid to provide a port for the HHO. Ideally there would be one of these nozzles that hoses can attach to, but I didn't have one so I just force the clear hose through the hole:

You can use ordinary tap water for this, but if you need more production you can add baking soda as an electrolyte. I normally put two teaspoons of baking soda per liter. Salt also works but it precipitates this nasty green stuff. Don't use it. Next, just hook the generator up to a power supply suitable for your generator. Here is my setup before being switched on:

Flip the switch on the power supply and out comes a stream of HHO (perfect for igniting):

 Anyways, stainless steel is a must otherwise you will end up with a brown soup of nastiness (iron oxide) after just a few minutes. I picked up a few of these wall plates from Lowes. I used a blank wall plate, but I also found a double-sized wall plate that would also work if someone wants more output from their generator. As soon as I got these I used a reamer to enlarge one hole per wall plate (the hole where the screw normally fits through) to about 1.5-2cm in diameter. This is so that I can bolt the plates together. One bolt for each terminal. The reaming process was long and rubbed blisters on my hand, but I managed (it was nowhere near the work I put into hand-sawing my wind turbine blades later). I had three wall plates in all, and one terminal happened to get two wall plates while the other got one. It doesn't really matter that much.
After reaming out holes, make sure to sand the plates so there is maximum surface area for electrolysis to take place. Then assemble the plates like sirHOAX does in the video. As with all designs, you will probably have to improvise since not everyone has the same materials. Here is how my plates turned out:


